.svg)
With Apwide Booking, schedule assets with pre-built templates, flexible resource pools, and real-time conflict detection. Our App works with Jira issues, workflows, and custom fields to keep your bookings organized and conflict-free.
Requirements
Before proceeding with the Booking App installation, ensure that you meet the following requirements:
-
A Jira Cloud site. If you don’t have one, create a new free Jira Cloud site.
-
Jira Administrator permission on your site.
Get Started
Step 1: Install Apwide Booking
Access the Apwide Booking Listing and install Apwide Booking for free.
Step 2: Access the Booking App
-
In Jira, click Apps in the main navigation menu.
-
From the drop-down menu, select Booking.
Step 3: Create your first Booking Flow
-
Click + Booking Flow in the Booking Hub.
-
Choose a Template that matches the type of resource you want to book.
-
Select a Jira space (new or existing).
-
Choose the Resources.
-
Click Create.
For detailed instructions and advanced options, refer to the Creating a Booking Flow article.
Step 4: Book your first Asset
-
In the Booking Hub, locate the Booking Flow you created in Step 3.
-
Click Book.
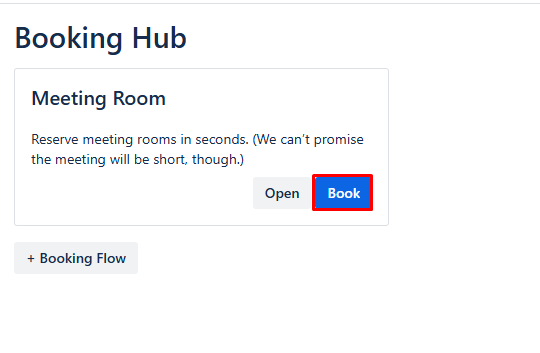
Booking Flow with the Book button highlighted in red
-
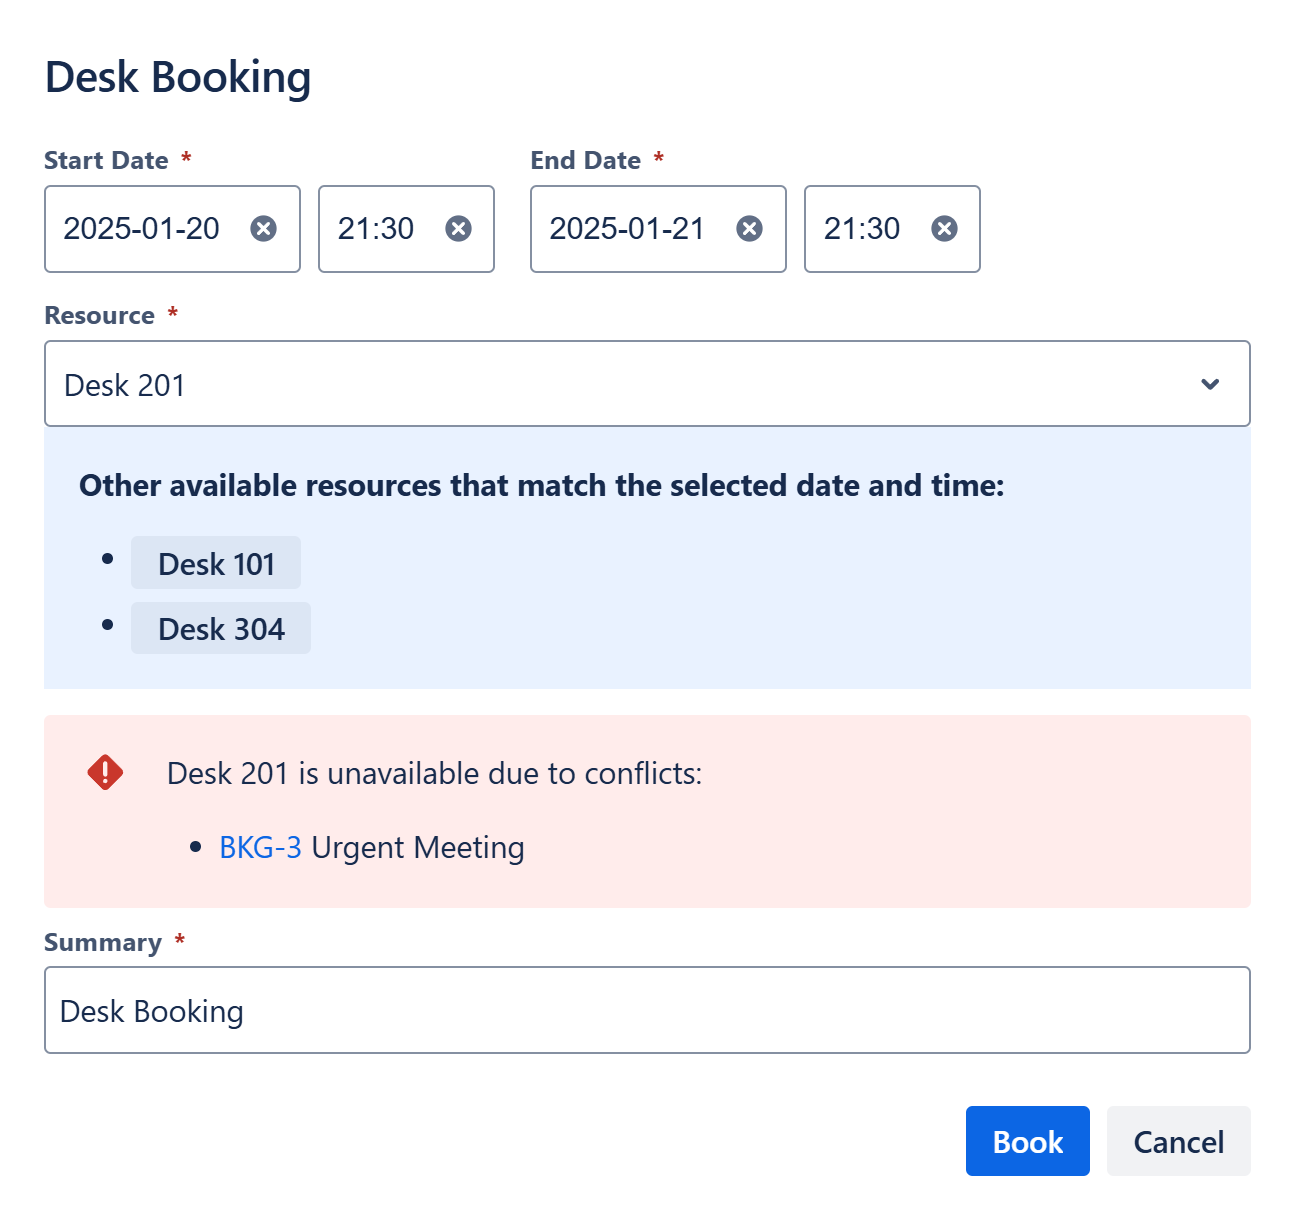
In the Book dialog:
-
Select the Start Date and End Date of the reservation.
-
Choose the Resource you want to book.
-
Enter a Summary for your Booking.
-
-
Click Book and boom—your first asset is officially booked with the Apwide Booking App 🚀
Related Articles
-
Booking Hub: The Booking Hub gives you an overview of all your Booking Flows.
-
Booking Flow: Each Booking Flow has a resource pool and a booking configuration.
-
Permissions: How permissions work in Apwide Booking.